What you will need:
- Your UD ID Card to release your print job at the printer.
- Administrator access to your computer to add the printer.
- Computer connected to UD network via a wired cable or eduroam Wi-Fi.
Instructions
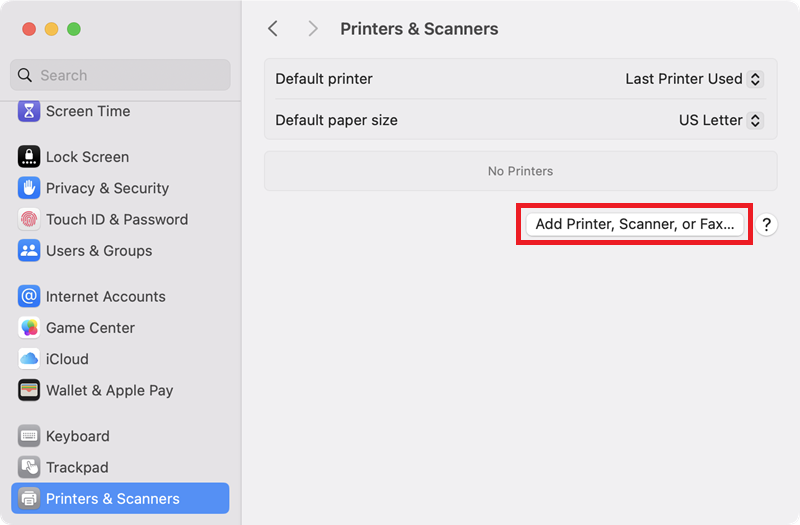
- Go to System Settings > Printers & Scanners and click on ‘Add Printer, Scanner, or Fax…’.
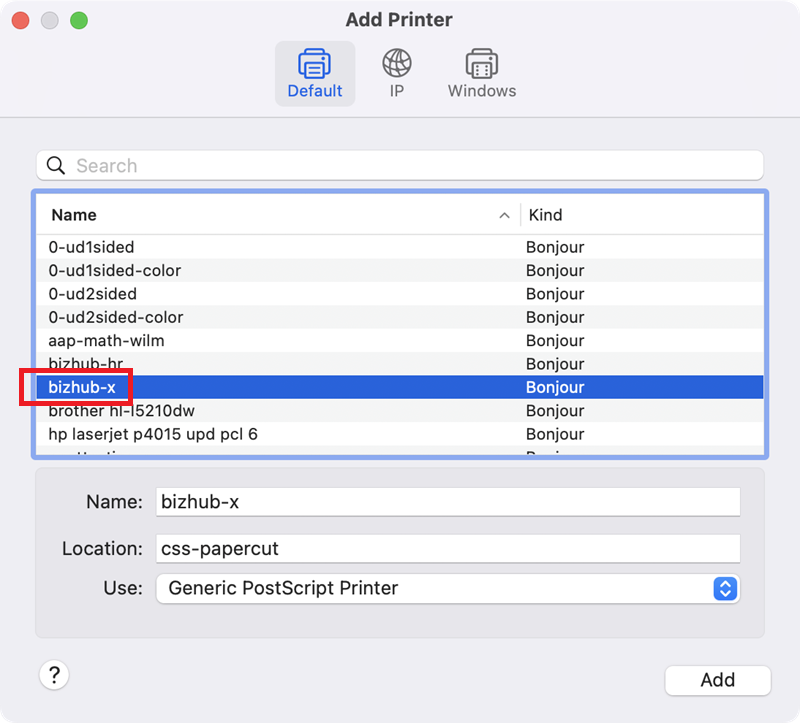
- On the ‘Default’ tab, browse and click on ‘bizhub-x’ printer.
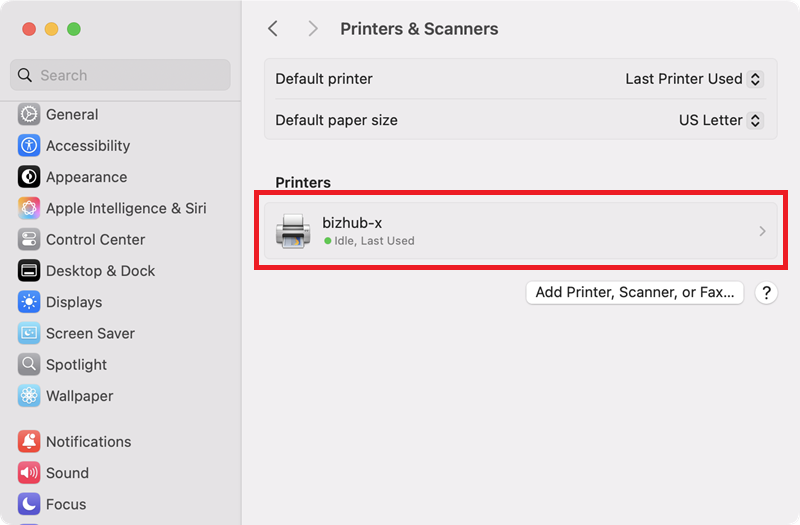
- You should see ‘bizhub-x‘ as one of the printers on your list if added successfully.
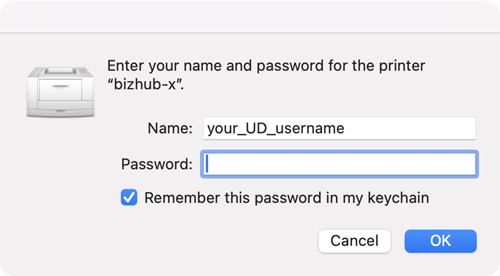
- The first time that you send a print job, you will be prompted to sign in. Use your UD username and password. Check ‘Remember this password in my keychain’ if you would like to save it.
- After you send your print job, please go to the printer room with your UD ID card. Swipe your card at the station to release your print job.
- Download the driver for the Konica Minolta bizhub 227 printer.
- Scroll down to the section “Linux”.
- Unzip and copy the KO958UX.ppd file to “/usr/share/cups/model/ “.
- Open the Terminal and add the printer with this command:
- lpadmin -p “Bizhub-X” -v smb://css-papercut.win.udel.edu/bizhub-x -m KO958UX.ppd -o auth-info-required=username,password -E
- You will be prompted for your credentials on first print.
- Username: win\your_username
- Password: your_UD_password
- Check ‘Remember password’
- After you send your print job, please go to the printer room with your UD ID card. Swipe your card at the station to release your print job.
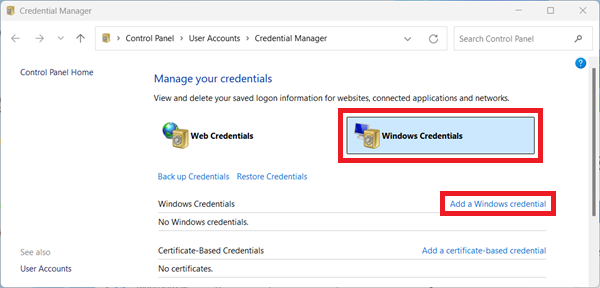
- Go to Control Panel > User Accounts and click on ‘Credential Manager’. Click to select ‘Windows Credentials’ and click on ‘Add a Windows credential’. You can skip this step if your computer is joined to the UD Active Directory. If you are unsure, please contact your local IT support.
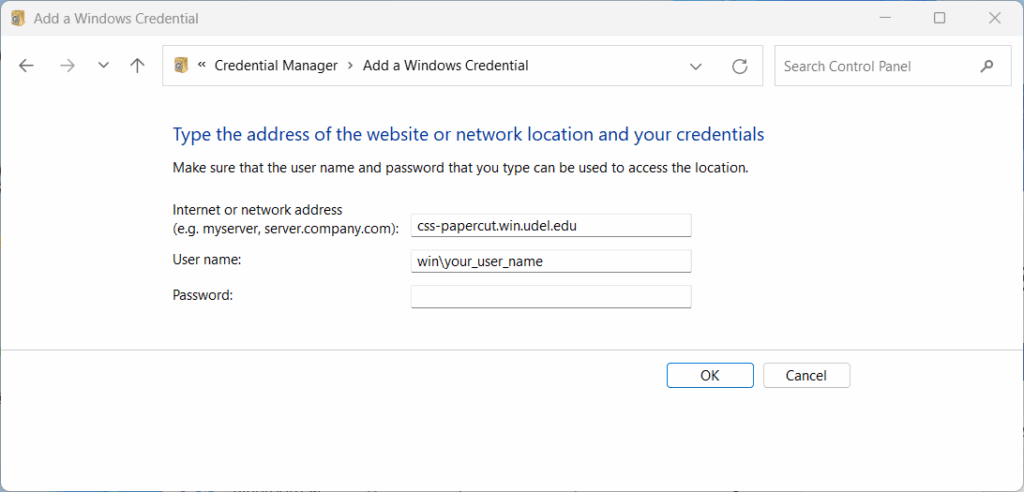
- Enter in the information as shown below. Please add a ‘win\‘ prefix before your user name. You must enter your password correctly or it will fail when you try to add the printer.
- Internet or network address: css-papercut.win.udel.edu
- User name: win\your_user_name
- Password: your_UD_password
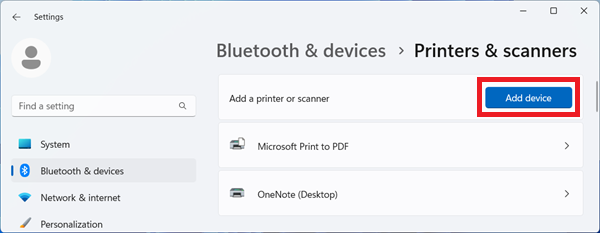
- Go to Settings > Bluetooth & devices > Printers & scanners. Click on ‘Add device’.
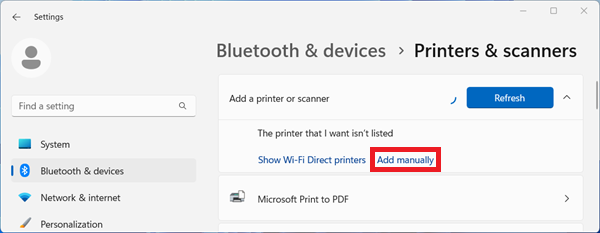
- A list of printers may start showing up on the list. Scroll down and click on ‘Add manually’.
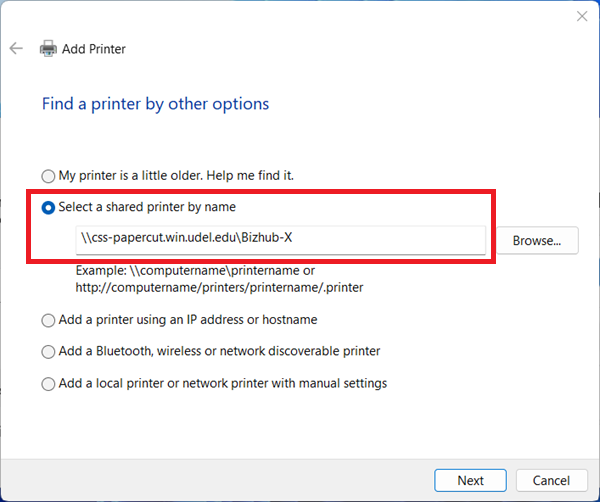
- On the Find a printer by other options screen:
- Choose ‘Select a shared printer by name’
- Enter in: \\css-papercut.win.udel.edu\Bizhub-X
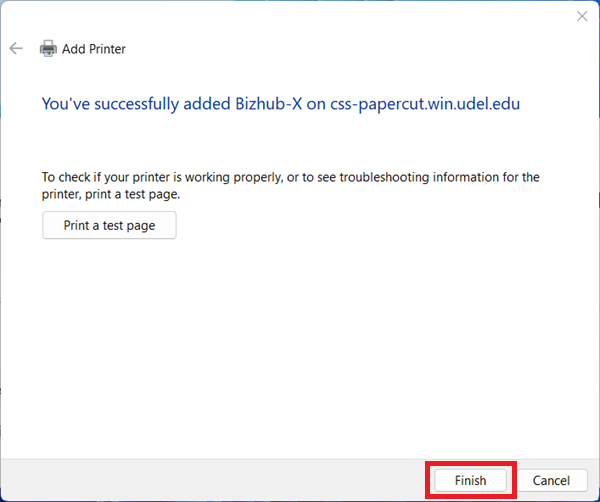
- The next two screen will show that the printer has been added successfully.

- After you send your print job, please go to the printer room with your UD ID card. Swipe your card at the station to release your print job.
- Please visit the UD PaperCut MobilityPrint webpage (accessible on UD network only) for printing from Android, Chrome OS and iOS devices. Scroll down the page to the section ‘To see how to set up other device types, follow the links’ and choose the appropriate link for your mobile device.